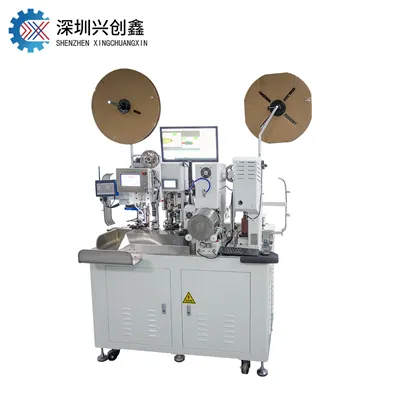
1. Machine Location and Installation
Place the injection molding machine on a level and stable floor. Ensure that the area around the machine is clean, well - ventilated, and free from excessive vibrations and dust.
If it's a large - scale machine, it may require a concrete foundation to provide a solid base. Connect the machine to a reliable power source and ensure that the electrical supply meets the machine's voltage, frequency, and power requirements.
2. Mold Installation
Before installing the mold, clean both the mold and the mold - mounting surfaces of the injection molding machine. Use a clean, lint - free cloth to wipe away any debris, oil, or rust.
Open the clamping unit of the machine to its maximum opening position. This is usually done through the machine's control panel, where you can operate the hydraulic or mechanical clamping system.
Carefully position the mold halves into the appropriate mounting plates of the injection molding machine. Make sure the mold is centered and properly aligned with the injection nozzle and other machine components. Some machines have alignment pins or guides to help with this process.
Close the clamping unit slowly and evenly to secure the mold in place. Apply the appropriate clamping force as specified by the mold's requirements and the type of plastic to be injected. The clamping force is usually set through the machine's control panel and is measured in tons.
3. Plastic Material Preparation
Select the appropriate plastic material for the injection molding process. The material is usually in the form of pellets or granules.
Clean and dry the plastic material to remove any contaminants such as dirt, moisture, or foreign particles. Moisture - laden plastic can cause problems such as bubbles, splay marks, or degraded mechanical properties in the molded product.
Load the plastic material into the hopper of the plasticizing unit of the injection molding machine. Make sure the hopper is clean and free from any blockages.
4. Temperature Setting
Set the barrel temperature of the plasticizing unit. The temperature settings depend on the type of plastic being used. Different plastics have different melting points and processing temperatures. For example, polyethylene (PE) may require a temperature range of around 150 - 300°C, while polycarbonate (PC) may need temperatures between 280 - 320°C.
The temperature is usually set through the temperature controllers on the injection molding machine. These controllers allow you to adjust the temperature of different zones of the barrel to ensure proper plastic melting and homogenization.
Also, set the temperature of the mold. The mold temperature affects the cooling rate of the injected plastic and can have a significant impact on the quality of the final product. A too - hot mold can cause the plastic to cool too slowly and result in warping, while a too - cold mold can lead to short shots (incomplete filling of the mold).
5. Injection and Clamping Parameter Settings
Set the injection speed and pressure. The injection speed determines how quickly the molten plastic is pushed into the mold cavity. A too - fast injection speed can cause air entrapment and surface defects, while a too - slow speed can lead to incomplete filling. The injection pressure needs to be sufficient to fill the mold completely, taking into account the viscosity of the molten plastic and the resistance of the mold.
Adjust the clamping force and mold - opening/closing speed. The clamping force should be enough to keep the mold closed during injection to prevent plastic leakage. The mold - opening and - closing speeds should be optimized to ensure efficient operation and to avoid damage to the mold and the molded product.
6. Ejection System Setup
Configure the ejection system of the injection molding machine. This includes setting the ejection force, speed, and stroke. The ejection force should be enough to push the molded product out of the mold cavity without damaging it. The speed and stroke of the ejection mechanism need to be adjusted according to the size and shape of the product.
Check the operation of the ejection system to ensure that it functions smoothly and correctly. Some machines have adjustable ejection pins or other ejection devices that can be fine - tuned for different molds and products.
7. Testing and Calibration
Before starting full - production runs, conduct test injections. Use a small amount of plastic to fill the mold and observe the injection process, the filling of the mold, and the quality of the ejected sample.
Check for any defects such as short shots, flash (excess plastic at the mold parting line), warping, or surface imperfections. Based on the test results, make any necessary adjustments to the temperature, injection speed, clamping force, or other parameters.
Calibrate the machine's sensors and meters, such as temperature sensors, pressure gauges, and position sensors. Ensure that these instruments provide accurate readings and feedback to the machine's control system.